 SENDO
SENDO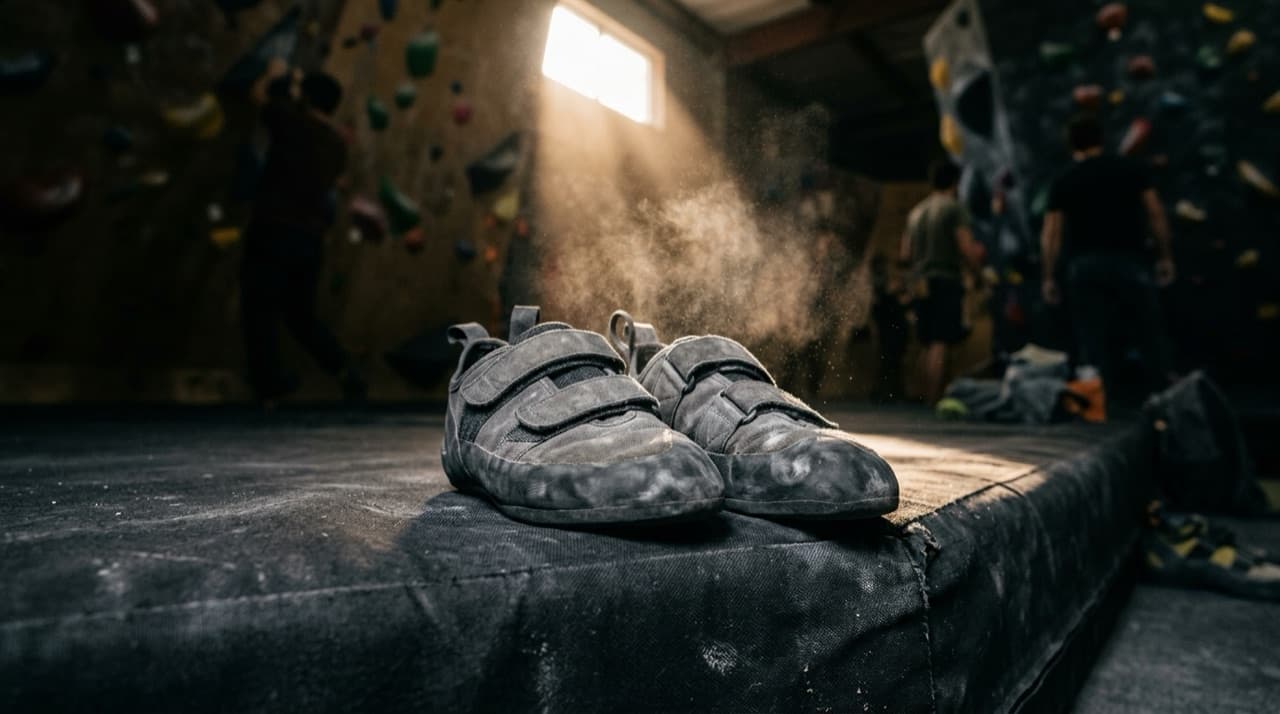
Your first pair of climbing shoes is the single best gear upgrade you’ll make as a new boulderer, and also the easiest one to get wrong. The wall of shoes at the shop all look vaguely alike, the sizing advice you’ll hear ranges from sensible to medieval (“two sizes down, tears are normal”: no), and half the features that make a shoe expensive are things a beginner actively doesn’t want.
Here’s the whole decision, climber to climber, without brand talk: when to stop renting, which shape to buy, how it should actually feel on your foot, and what’s worth paying for.
Rentals first, and when to stop
If you’ve been to the gym twice, keep renting. Rental shoes are flat, roomy, and indestructible, and they’re fine for learning to stand on big footholds. There’s no prize for buying shoes before you know you like climbing.
The switch point comes surprisingly fast, though. Once you’re going regularly, say once a week for a month or two, you’ll start noticing what rentals can’t do: the toe is a soft, shapeless blob, so smaller footholds feel like guesswork, and the fit is baggy enough that your foot slides around inside the shoe. If you’ve caught yourself blaming your feet for a slip, or you’re climbing often enough that rental fees are adding up, that’s the moment. Your first owned pair will feel like someone turned the friction up.
Flat vs downturned: buy the flat one
Lay any climbing shoe on a table and look at it from the side. Some sit flat, like a normal shoe. Others curve downward, the toe hooking toward the ground like a claw. That curve is called downturn, and it’s the loudest signal of who a shoe is for.
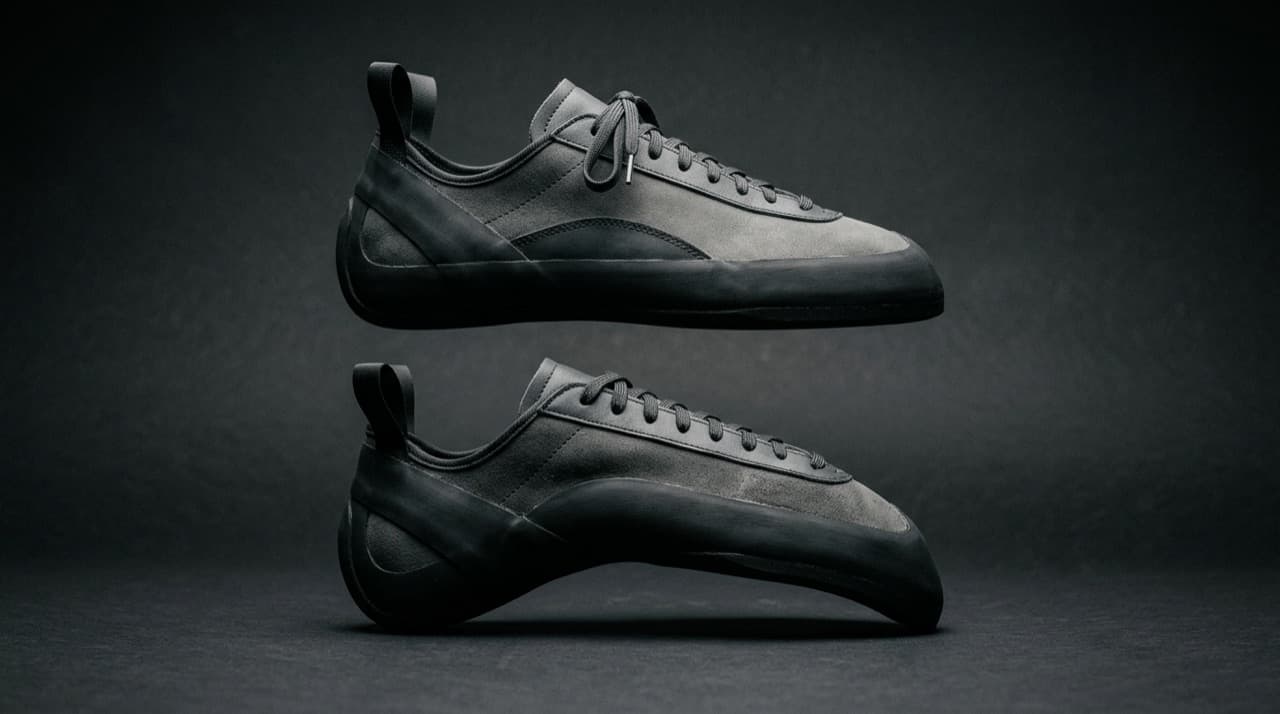
A flat (neutral) shoe keeps your foot in a natural position. It’s comfortable for a full session, it edges well on vertical walls and slab, and it lets you actually feel what your feet are doing, which is the entire skill you’re trying to learn right now.
A downturned (aggressive) shoe curls your toes into a powered-up claw so you can pull with your feet on steep overhangs. It’s brilliant there and miserable everywhere else: tiring to wear, worse on slabs, and punishing to feet that haven’t toughened up yet. On the climbs you’ll be doing in your first year, downturn gives you roughly nothing; you’d be paying extra money for extra pain.
So the profile question has a one-word answer for a first pair: flat. There’s a middle ground (“moderate” downturn) that makes sense later, once steep walls become a regular part of your diet.
Fit: snug, not painful
Forget the horror stories. The rule for a first pair is snug, not painful, and both halves of that matter.
Snug means your toes reach the very end of the shoe, lying flat or just barely curled, with no dead air anywhere: no gap at the heel, no loose pocket over the toes. When you stand on a foothold, the shoe should move as one piece with your foot. If your foot can slide even a little inside the shoe, the shoe is doing the standing, badly, instead of you.
Not painful means exactly that. Aggressively downsized, knuckles-on-fire sizing is a performance trade-off that experienced climbers accept for hard projects, worn for one burn, pulled off between climbs. It buys a beginner nothing except dreading putting the shoes on, and footwork you can’t feel through the pain. You should be able to wear your first pair for most of a session without thinking about it.
Your street size is a starting point, not an answer
Climbing shoe sizing is chaos. Between brands, and even between models from the same brand, the same marked size can fit wildly differently. Treat your street-shoe size as nothing more than the first pair you hand to the shop assistant, and expect to end up anywhere from that size to a full size down (occasionally even up, depending on the last).
The other thing sizing charts won’t tell you: shoes stretch, and how much depends on the material. Unlined leather uppers can stretch as much as a full size as they break in; a leather shoe that’s comfortable in the shop may be sloppy in a month. Synthetic uppers barely stretch at all; how they fit on day one is roughly how they’ll fit forever. Lined leather sits in between. Check the material and size accordingly: leather can start a touch tighter, synthetic should feel right immediately.
- 1Try shoes on in the afternoon
Feet swell during the day, and during a climbing session. A shoe fitted on fresh morning feet will feel tighter by the time you actually climb in it.
- 2Fit both feet
Almost everyone has one foot slightly bigger than the other. Fit the bigger one; a hair of extra room on the smaller foot beats a crushed toe on the bigger one.
- 3Stand on something
Most shops have a board or a rail. Weight your toes on an edge: your foot shouldn’t slide forward, your heel shouldn’t lift, and nothing should stab.
- 4Wear them for ten minutes
A shoe that’s fine for thirty seconds can reveal a pressure point by minute five. Walk around the shop. Hot spots now become blisters later.
Velcro, lace, or slipper
How the shoe closes matters less than profile and fit, but it’s the choice you’ll interact with fifty times a session, because boulderers take their shoes off constantly between climbs.
Velcro is the bouldering default for exactly that reason: on in two seconds, off in one. The trade-off is less fine-tuning; two straps can’t adjust the fit along the whole foot the way laces can.
Laces give the most adjustable fit, great if your feet are hard to fit (very narrow, very high arch) or if you want one shoe dialed for longer wear. The cost is the faff: nobody enjoys re-lacing between every boulder.
Slippers have no closure at all, just elastic. They’re sensitive and convenient, but with nothing to cinch them down they rely entirely on a precise fit, and they stretch the most. A confident second-pair choice; a risky first one.
For a first pair spent in the bouldering gym, velcro is the sensible default. Pick laces if the best-fitting shoe on your foot happens to be laced; fit outranks closure every time.
Rubber, briefly
Shoe marketing will try to sell you on rubber compounds. Here’s all a beginner needs: softer rubber grips better and wears out faster; harder rubber supports your foot on small edges and lasts longer. Beginner-friendly shoes ship with slightly harder, thicker rubber, and that’s a feature, not a compromise. New climbers drag their toes down the wall (everyone does; it stops eventually), and thicker rubber survives that apprenticeship. You’ll be a much better judge of rubber on your second pair. Ignore it on your first.
What to spend
Entry-level climbing shoes cost roughly what a decent pair of running shoes costs; top-of-the-line models can be double that or more. Spend at the lower end. The expensive shoes aren’t better; they’re more specialized, and their specializations (aggressive downturn, ultra-soft rubber, sock-tight fit) are aimed at problems you don’t have yet. Last season’s colorway of a beginner model on sale is the classic first-shoe move. Put the savings toward a chalk bag and a brush.
When to think about pair two
Your first pair has a job: teach you footwork. Somewhere down the line, often around the time the toe rubber wears smooth, you’ll notice its limits: heels that slip out mid heel hook, a toe too soft to trust on tiny edges, or steep boulders where your feet keep cutting loose. That’s the shoe telling you what your climbing wants next, and it’s a far better guide than any review. Many climbers then run two pairs: comfortable flats for long sessions and warm-ups, something tighter and more downturned for short, hard efforts. If the first pair still isn’t holding you back, it isn’t; keep climbing.
One last thing: if half the words in the shoe conversation are new (edging, smearing, heel hook, slab), the beginner glossary covers the whole gym vocabulary in plain language, and edging in particular is worth understanding before you buy, since it is the thing a stiff shoe is for. And new shoes are a famously bad reason to climb six days in a row — how often you should climb is the other half of getting better. Shoes on, words down: go climb.